Deploying on an Ubuntu server
Prerequisites
- An Ubuntu server
- Need terminal (SSH) and HTTP(S) access
- This guide was written using Ubuntu 24.04.2
- A domain name for the server
- This guide assumes you are using the top level of the domain, so e.g. if
your domain name is
example.com, you won't be able to have Apollo be atexample.com/apollo. Subdomains are fine, though, so you could useapollo.example.com
- This guide assumes you are using the top level of the domain, so e.g. if
your domain name is
Set up JBrowse
Before installing anything, just to make sure the repositories are up to date, run
sudo apt update
Now install the tools we need by running
sudo apt install -y apache2 unzip
This installs:
- apache2, which is the web server we'll use to server JBrowse
- unzip, for decompressing the JBrowse installation files
By default, apache2 serves files located in the /var/www/html directory. We'll
add permissions for our user to access that directory and then set up the
JBrowse files there.
sudo chown -R $(whoami) /var/www/html/
cd /var/www/html/
rm index.html
curl -fsSL https://s3.amazonaws.com/jbrowse.org/code/jb2/latest/jbrowse-web-latest.zip > jbrowse-web.zip
unzip jbrowse-web.zip
rm jbrowse-web.zip
sudo systemctl restart apache2.service
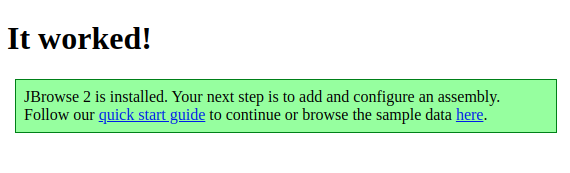
Now open the URL of your server. You should see a screen that says "It worked!". If so, JBrowse has been successfully installed.
Set up Apollo JBrowse plugin
To add the Apollo plugin, we'll first fetch the plugin source file and place it
in a file called apollo.js in the directory with the other JBrowse files.
curl -fsSL https://registry.npmjs.org/@apollo-annotation/jbrowse-plugin-apollo/ > jpa.json
LATEST_VERSION=$(jq -r '."dist-tags".latest' jpa.json)
TARBALL_URL=$(jq -r ".versions.\"${LATEST_VERSION}\".dist.tarball" jpa.json)
curl -fsSL ${TARBALL_URL} | \
  tar --extract --gzip --file=- --strip=2 package/dist/jbrowse-plugin-apollo.umd.production.min.js
mv jbrowse-plugin-apollo.umd.production.min.js apollo.js
rm jpa.json
In order to test that this worked, we'll need to create a temporary JBrowse
config file. We'll use the text editor nano in this tutorial, but feel free to
use whatever text editor you like.
First install nano and use it to open a file
sudo apt install -y nano
nano config.json
That will open the nano editor. Paste or type the following into the file:
{
  "plugins": [
    {
      "name": "Apollo",
      "url": "apollo.js"
    }
  ]
}
To save the file, press Ctrl + O and then
Enter, and to exit nano, press Ctrl + X.
Now open the same link as before (or refresh the page). You should now see the JBrowse start screen. Choose an "Empty" session.
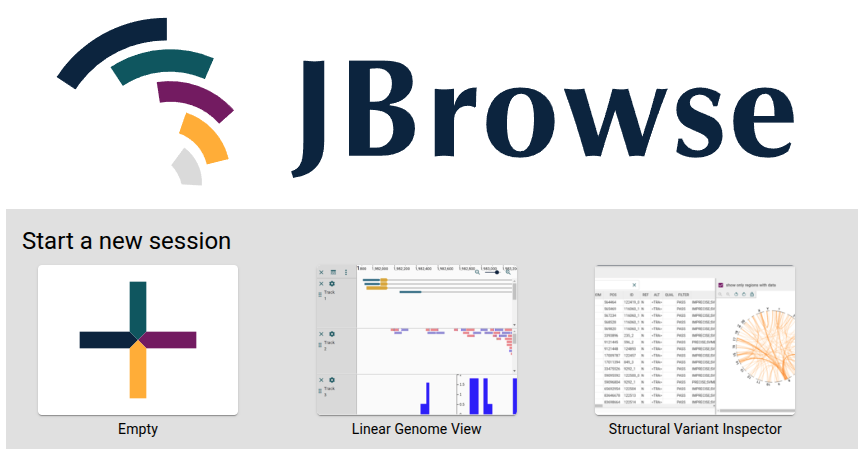
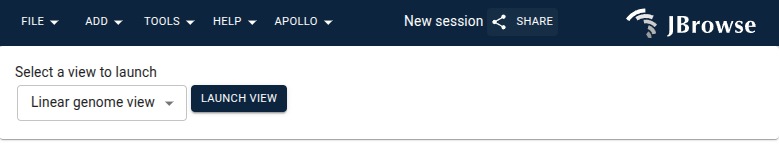
If Apollo has been installed successfully, you'll see a menu called "Apollo" at the top of the page.
You can use some basic Apollo functionality like editing annotations small local
GFF3 files with just the plugin, but to enable the full functionality of Apollo
we'll need to add the last two components. Delete the config.json for now, as
we won't need it anymore.
rm config.json
Set up the database
Apollo uses MongoDB to store its data. In this example we'll set up MongoDB running on the same server as everything else, but it could just as easily be an externally managed database.
These installation instructions for MongoDB are based on the installation instructions in the MongoDB documentation.
MongoDB is not available for apt to install by default, so we'll need to do
some configuration to enable that. First we'll need to install gnupg and use
it to import the MongoDB public key.
curl -fsSL https://www.mongodb.org/static/pgp/server-8.0.asc | sudo gpg -o /usr/share/keyrings/mongodb-server-8.0.gpg --dearmor
Now we can configure apt to be able to find MongoDB
echo "deb [ arch=amd64,arm64 signed-by=/usr/share/keyrings/mongodb-server-8.0.gpg ] https://repo.mongodb.org/apt/ubuntu noble/mongodb-org/8.0 multiverse" | sudo tee /etc/apt/sources.list.d/mongodb-org-8.0.list
sudo apt update
And now install MongoDB
sudo apt install -y mongodb-org
Apollo requires MongoDB to be configured in a replica set configuration. You can
have multiple replicas of your database, but in this example we'll use a single
one. To configure this, we'll edit the file /etc/mongod.conf.
sudo nano /etc/mongod.conf
In the file where it says # replication, change it to
replication:
  replSetName: rs0
Now we can start MongoDB by running
sudo systemctl start mongod
The last step is to initialize the replica set. To do this, run the command
mongosh and in the shell that appears, run the command
rs.initiate()
Then press Ctrl + D or run the exit command to exit the
mongosh shell.
Set up Apollo Collaboration Server
The first step in setting up the collaboration server is to further configure
the apache2 server we installed when setting up JBrowse. We're going to use
apache2 as a "gateway" (a.k.a. "forward and reverse proxy") server. This is so
that the same server can handle requests for the JBrowse static files and
forward requests for the Apollo Collaboration Server to our running server
process (which we will set up shortly). It does this by inspecting the request
and if the path starts with apollo/ or is for config.json, it forwards the
request to the Apollo Collaboration Server, otherwise it handles the request as
a static file server.
To set this up, we first need to enable some mods on our apache2 server.
sudo a2enmod proxy
sudo a2enmod proxy_http
sudo a2enmod proxy_wstunnel
Now we'll configure the proxy by editing the file
/etc/apache2/sites-available/000-default.conf.
sudo nano /etc/apache2/sites-available/000-default.conf
Add these lines near the bottom of the file, above the </VirtualHost> line.
	ProxyPass "/config.json" "http://localhost:3999/jbrowse/config.json"
	ProxyPassReverse "/config.json" "http://localhost:3999/jbrowse/config.json"
	ProxyPassMatch "^/apollo/(.*)$" "http://localhost:3999/$1" upgrade=websocket connectiontimeout=3600 timeout=3600
	ProxyPassReverse "/apollo/" "http://localhost:3999/"
Now we need to restart the apache2 server.
sudo systemctl restart apache2
The next thing we need to do is add a file that defines feature types for Apollo. This is usally the Sequence Ontology.
cd /var/www/html/
curl -fsSL https://github.com/The-Sequence-Ontology/SO-Ontologies/raw/refs/heads/master/Ontology_Files/so.json > sequence_ontology.json
Now we need to install Node.js on the server. The default Node.js available via
apt can have some problems, so we'll configure apt to install a different
version.
curl -fsSL https://deb.nodesource.com/setup_20.x | sudo bash -
sudo apt install -y nodejs
Now we'll fetch the Apollo installation files.
cd ~
curl -fsSL https://api.github.com/repos/GMOD/Apollo3/releases/latest > apollo.json
TARBALL_URL=$(jq -r '.tarball_url' apollo.json)
curl -fsSL ${TARBALL_URL} > apollo.tar.gz
tar xvf apollo.tar.gz
rm apollo.tar.gz apollo.json
mv GMOD-Apollo3-*/ Apollo/
To install Apollo, we'll need the tool yarn, which can be enabled through
Node.js by running
sudo corepack enable
Then install and build Apollo by running
cd Apollo/
yarn # Need to answer "Y" to allow Corepack to download yarn
cd packages/apollo-collaboration-server/
yarn build
Now that Apollo is installed, we need to configure it before starting it. We can
do that by adding a file called .env in the
packages/apollo-collaboration-server/ directory (e.g. by using nano) and
adding these contents to that file. Note that for "URL", you should put the URL
for your server, followed by /apollo/.
URL=<forwarded address>/apollo/
NAME=My Apollo Instance
MONGODB_URI=mongodb://localhost:27017/apolloDb?directConnection=true&replicaSet=rs0
FILE_UPLOAD_FOLDER=/home/ubuntu/data/uploads
JWT_SECRET=some-secret-value
SESSION_SECRET=some-other-secret-value
ALLOW_ROOT_USER=true
ROOT_USER_PASSWORD=some-secret-password
ALLOW_GUEST_USER=true
GUEST_USER_ROLE=admin
You can find more configuration options in the Apollo docs.
Now we can start Apollo by running
yarn start:prod
Open the URL of your server. Open an "Empty" session, and then choose "Continue as Guest" in the dialog that appears.

Congratulations, Apollo is now ready to use!